Matte Painting Hidden Shrine from Pedro Colmenares on Vimeo.
It’s been a while since the last time I did an animated matte painting shot!
But I had a couple weeks off from work and not much to do so I just jumped in.
inspiration
I got instant inspiration when I started playing 2013’s Tomb Raider. It didn’t take more than 45 minutes for me to fall in love with the visual style, the mood and environments.
My recent trip to Japan at the end of 2014 was another huge source of inspiration, plus, I had the chance to shoot a lot of elements with my camera so I had a pretty big library of cool material.
shot study and cameras
Before jumping to do the fun matte painting stuff I studied the type of camera move I wanted for the shot. I had in mind the idea of an establishing shot that could be used as the opening shot for a film or cinematic. I wanted to slowly reveal the the shrine and show the environment surrounding it. A simple move of the Camera Tilting Up and Travelling Forward slightly worked just fine for this purpose. This move would help to reveal the selling point and the slight forward motion would enhance the 3D space creating parallax between the different elements in the scene.
Once I was happy with the camera, I did a quick layout with very rough geometry to establish the space and to study the amount of parallax and level of detail that the projection geo would need to have.
Working on the cameras and layout is essential before jumping into any environment work!
Once I know how the camera move will be, I will know how much Overscan will I need to cover the environment that is visible through the camera for example.
matte painting in Photoshop
Time for fun!
I already had a decent base from the quick 3D geo, so I would only need to follow it and replace it with photo elements.
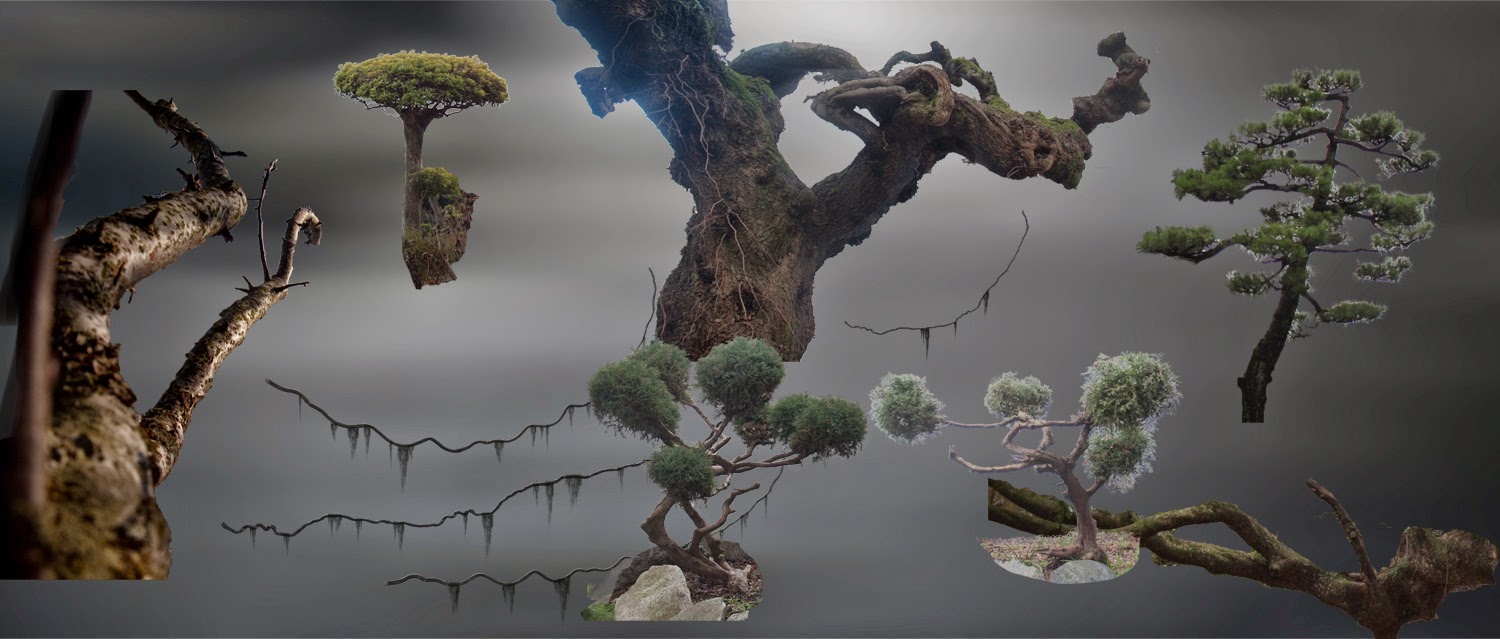
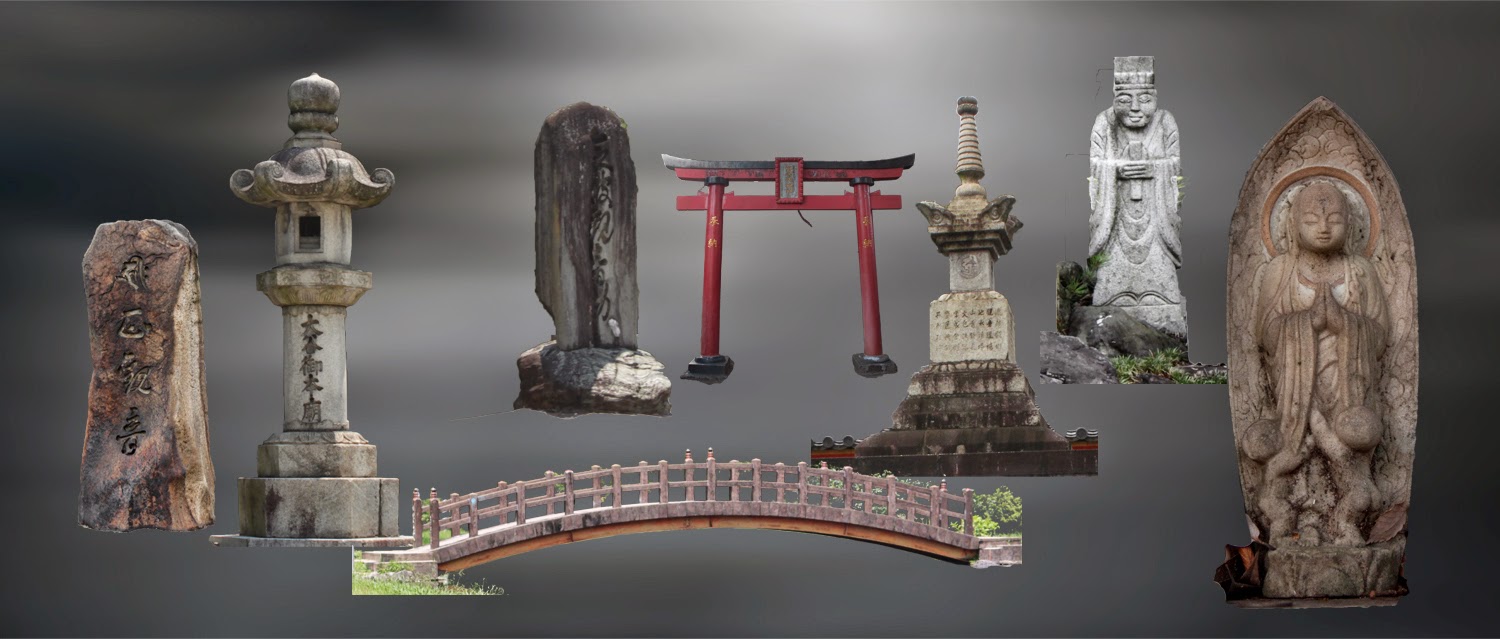
Before starting the painting though, I gathered as much references as I could and prepared them so that I could just drop them into my DMP file, move them around and integrate them in the environment.
 |
| DMP vegetation elements |
So for example, if I needed tree elements, I would search for 10-15 trees I liked, key/prep all of them and saved them in a mini-library I created for the project… The first 2 or 3 trees took a bit extra time to prep because I needed to find out which technique would work best, but after I did 3 or 4 I did the rest of elements almost in an “automatic” mode.This saved a lot of time because I was able to focus on the painting process as I had all the assets I needed.
In the end I did not use all the elements I prepared but I will be able to use them for future projects.
 |
| DMP japanese ornaments |
Once I had my elements ready I brought them to my Master DMP file and integrated them. At this point, I was focused only on lighting, composition and art direction. It almost felt like having a LEGO or scaled model kit and building it, tons of fun!
matte painting out of Photoshop
Normally, I finish my matte paintings in Photoshop, but since this one was an animated shot with a moving camera, I wanted to have a lot of flexibility later on. For that reason, I worked several sections in Comp. Atmospheric elements were added in Comp rather than in Photoshop as I had way more control in Nuke’s 3D space and more flexibility to control the placement and intensity of the fog and atmospherics. And of course, those atmospheric elements were animated as well. I had some layers of haze in my psd file but only for reference.
Small details like branches and vines were added in Comp as well, I prepared the assets in a flat way and then UV mapped them in 3D Cards so I could place them were I felt they worked best.
For the very FG branches I had to build some GEO in Maya and Camera Project the textures, but then In comp I was able to change the placement and position of this elements using the super useful and amazing Axis node in Nuke!
final comp and grade
Nuke has incredible tools for environment work, but soon my script became to heavy and slow, so I rendered different ENV layers to work in a full 2D manner.
final comp and grade
Nuke has incredible tools for environment work, but soon my script became to heavy and slow, so I rendered different ENV layers to work in a full 2D manner.
Once I had this ENV layers rendered out of Nuke I finished the shot in After Effects. I chose this program because I really like how it handles 2D layers and has very nice optical tools like lens distortion, grain etc. Also its color grading tools are identical to Photoshop’s which I am more familiar to.
I really enjoyed working on this and even though I could have spent extra time fixing issues and making enhancements I am happy with the final result.
Thanks for visiting!


.jpg)
.jpg)

